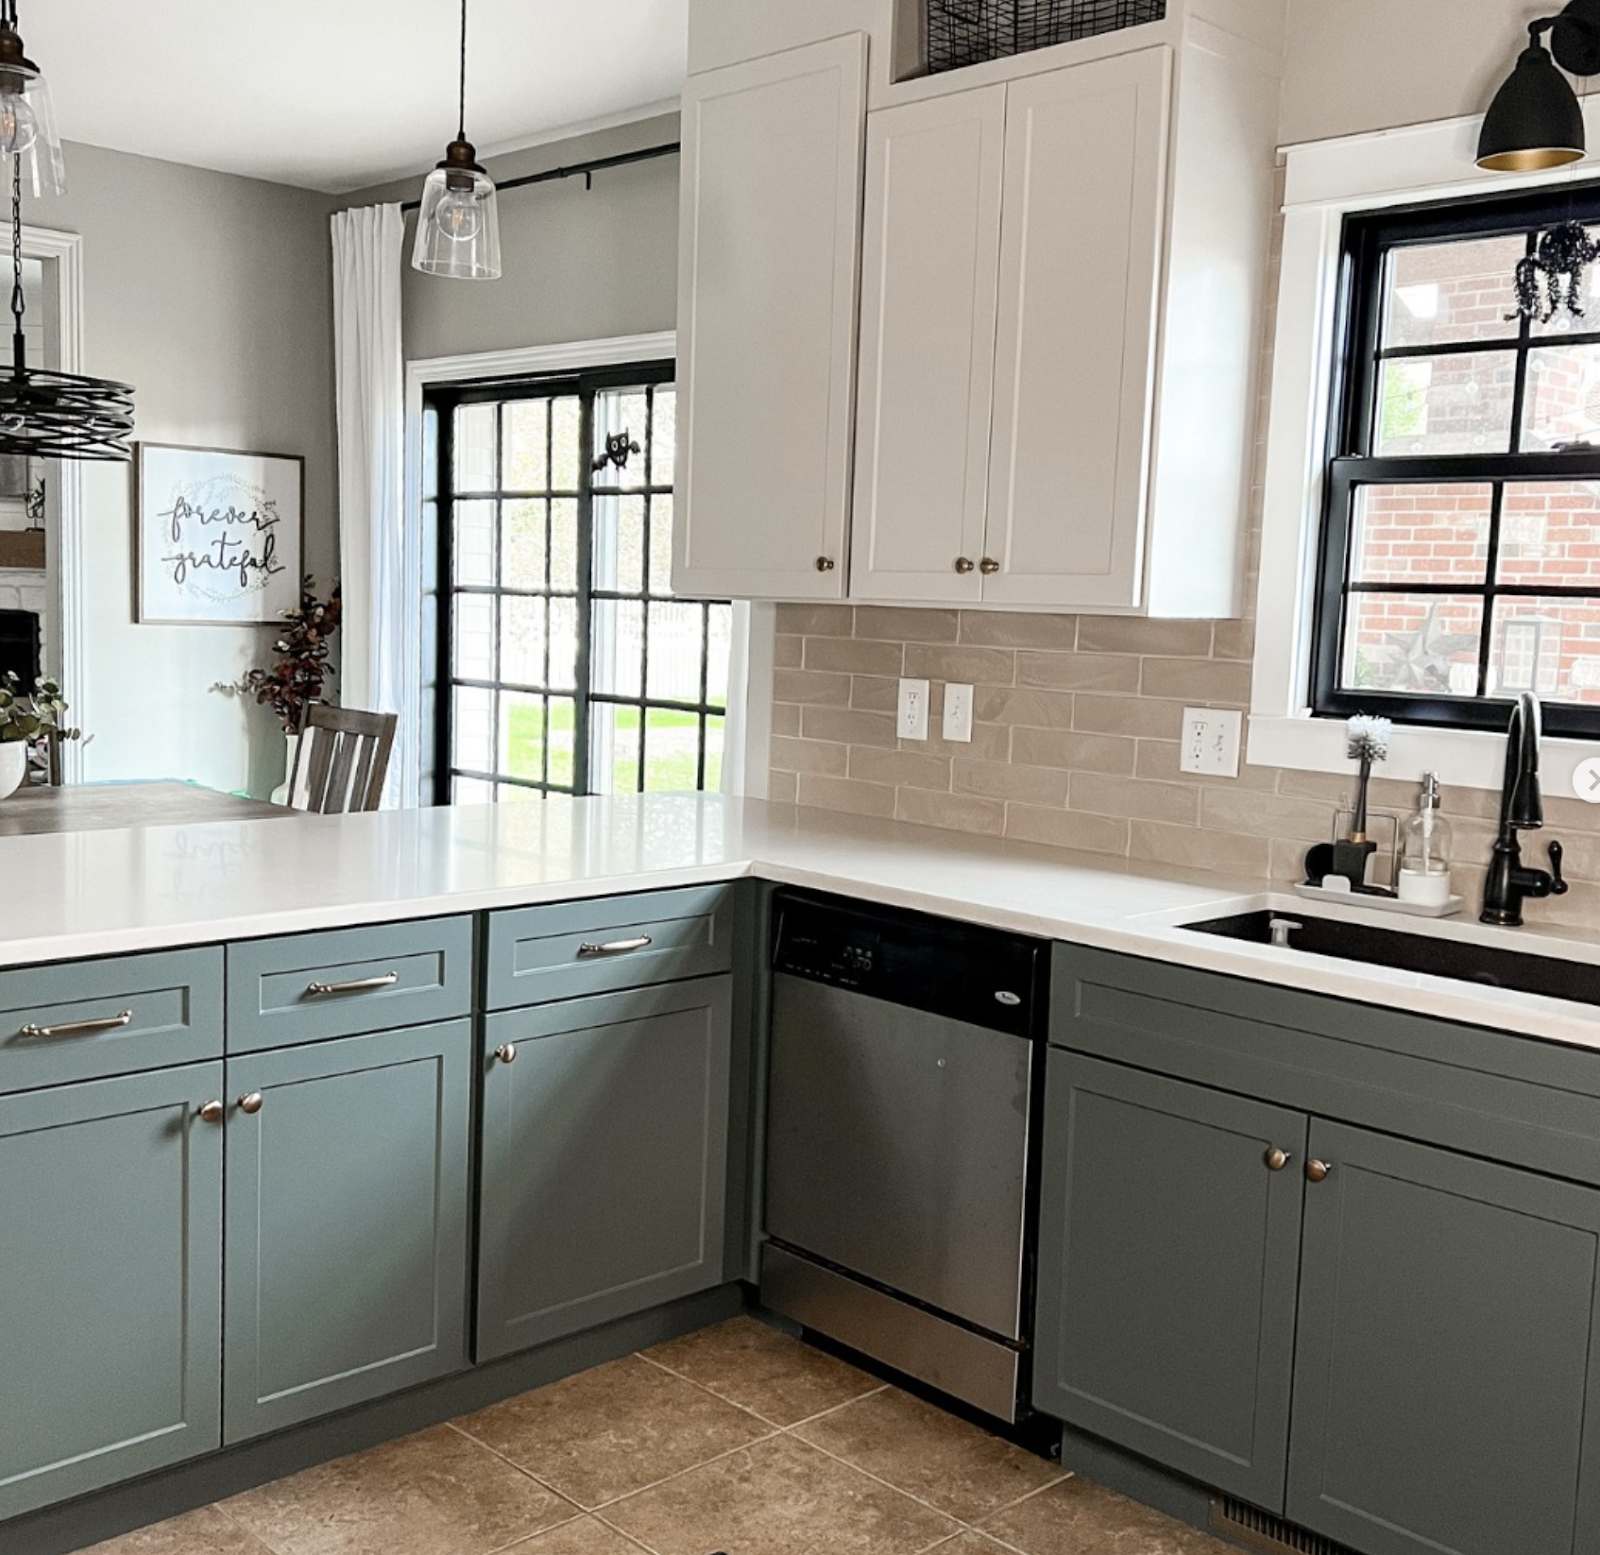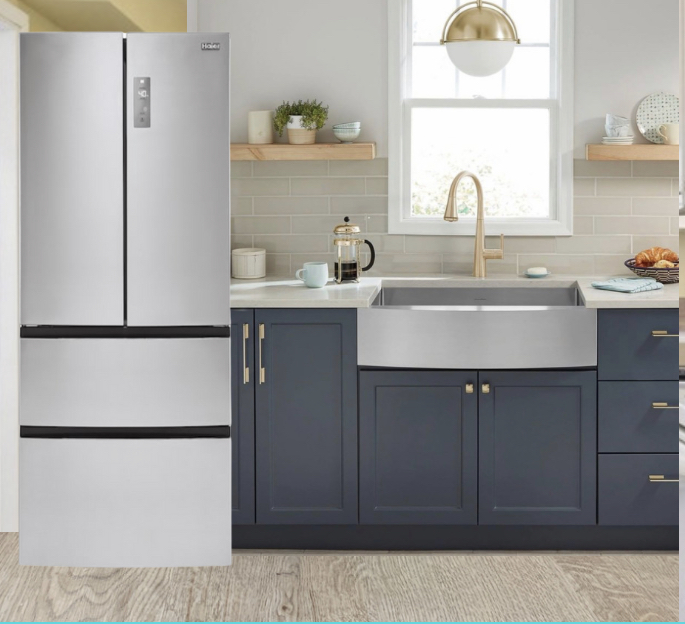
Spring is a time for renewing your home, starting with one of the most used spaces: the kitchen. Here’s how you can transform your kitchen from clutter to clarity with a kitchen refresh.
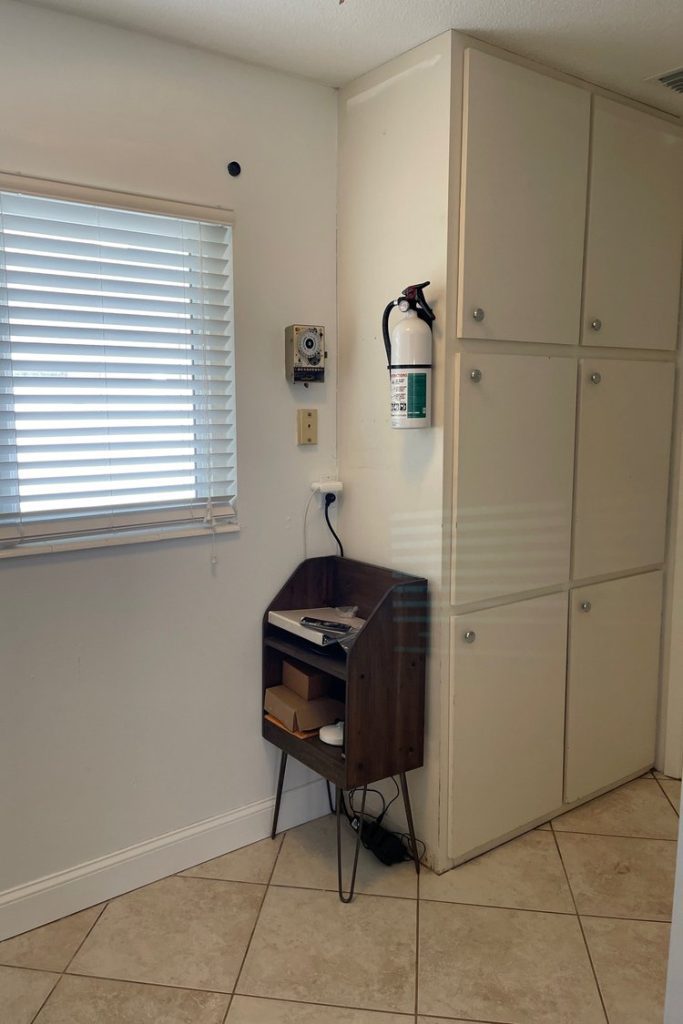
Decluttering
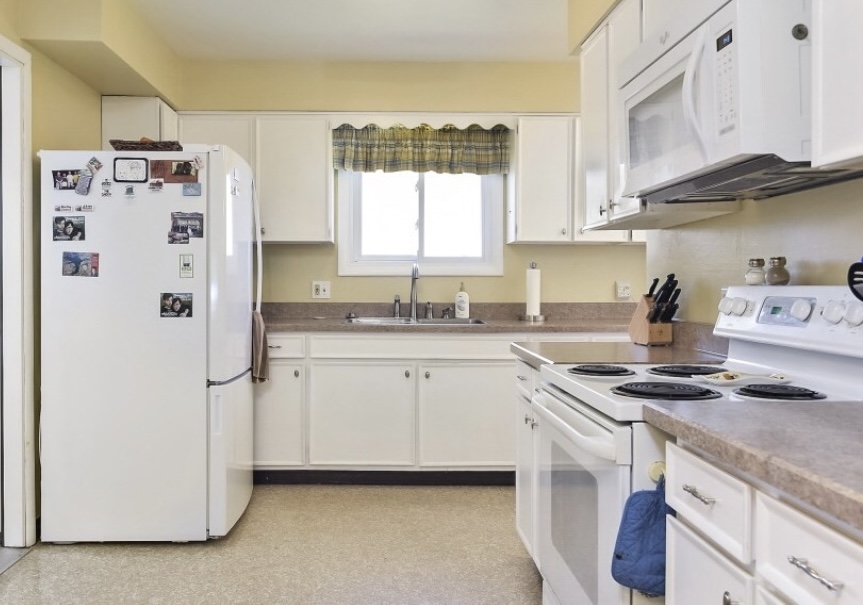
Kickstart your kitchen makeover by decluttering, a pivotal first step that transforms your space into an organized haven. Begin by evaluating every item in your kitchen: keep, donate, or discard. This decision-making process reduces visible clutter, simplifying organization.
If you find the process overwhelming, try these methods:
- One Room at a Time: Focus on one area or one type of item at a time to avoid burnout.
- Four-Box Method: Use four boxes labeled “Keep,” “Donate,” “Store,” or “Trash” to categorize items.
- 5-Minute Daily Declutter: Dedicate just five minutes each day to decluttering, making the task manageable and routine.
These strategies make it easier to maintain a clutter-free kitchen, ensuring everything you keep has a purpose and a place.
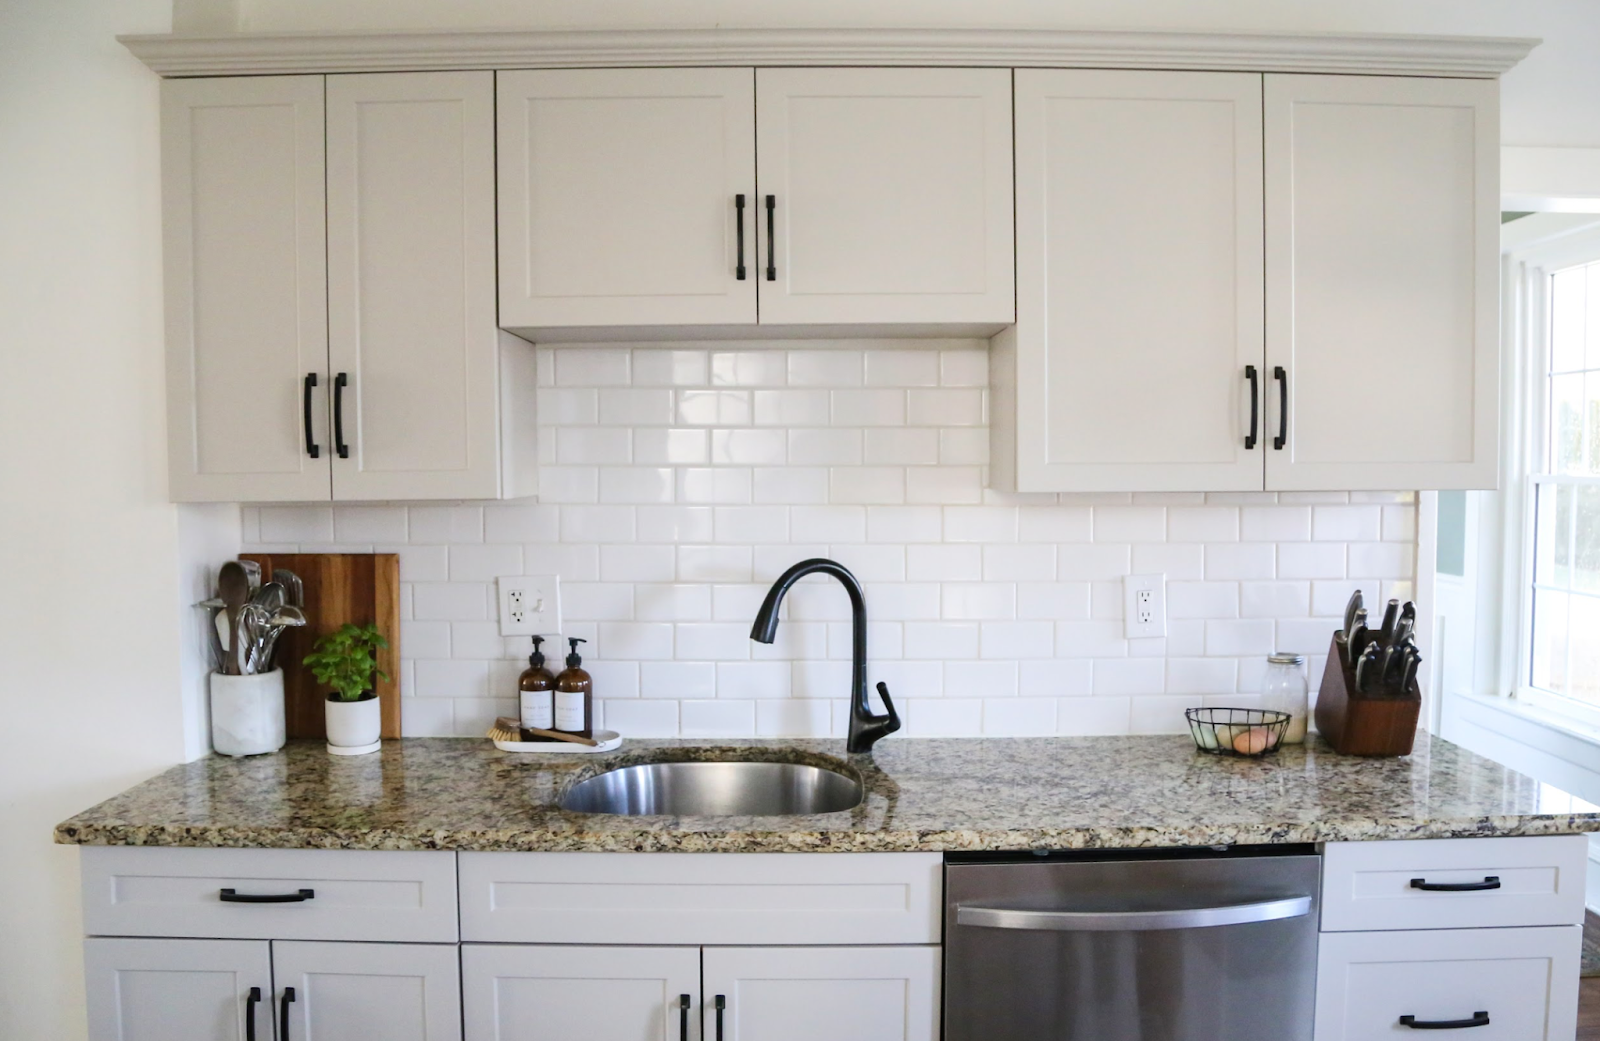
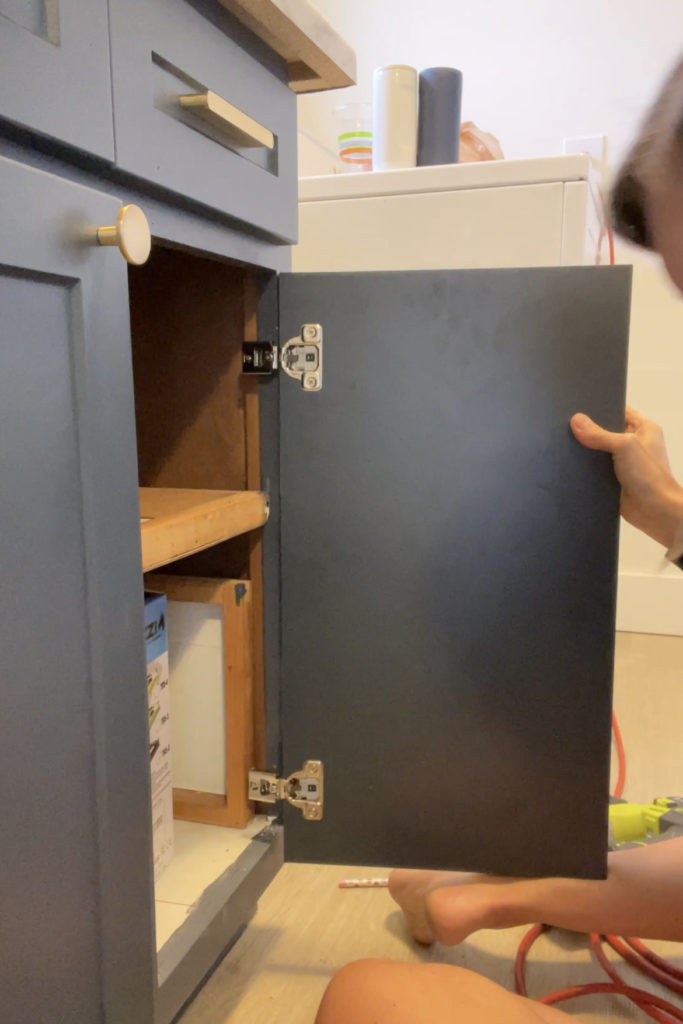
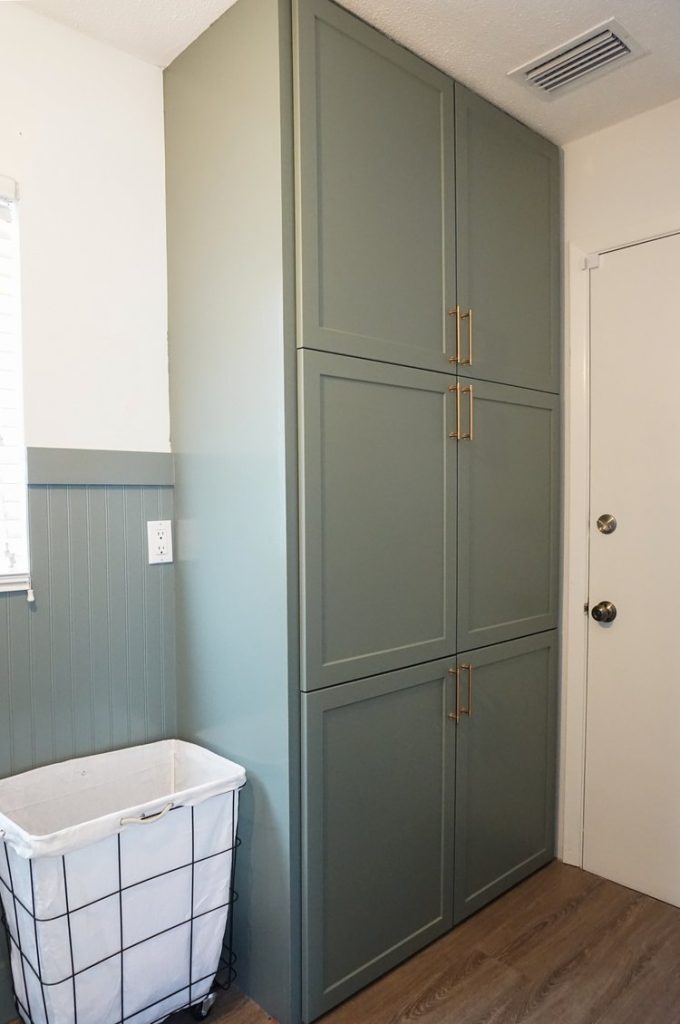
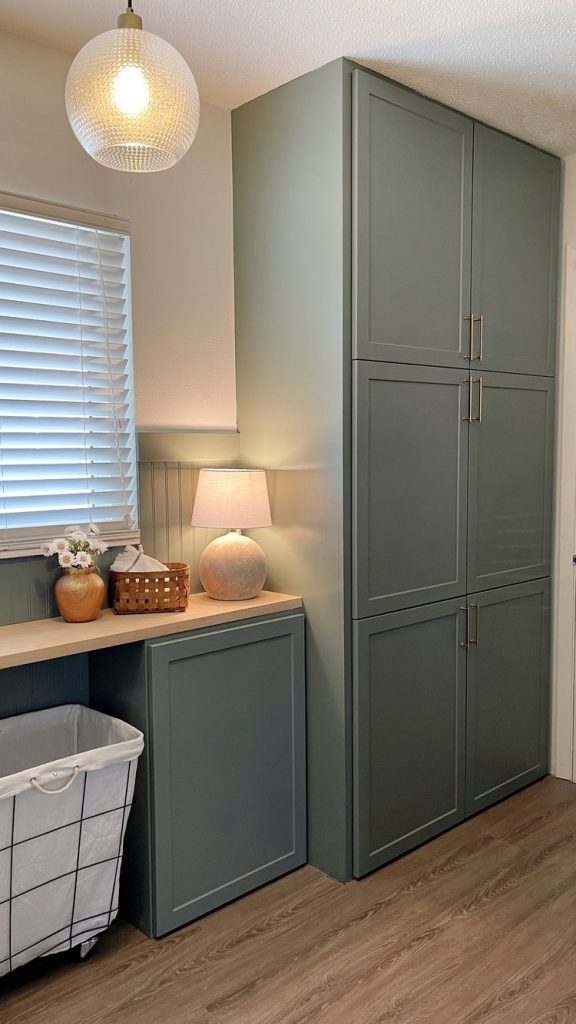
Smart Storage Solutions
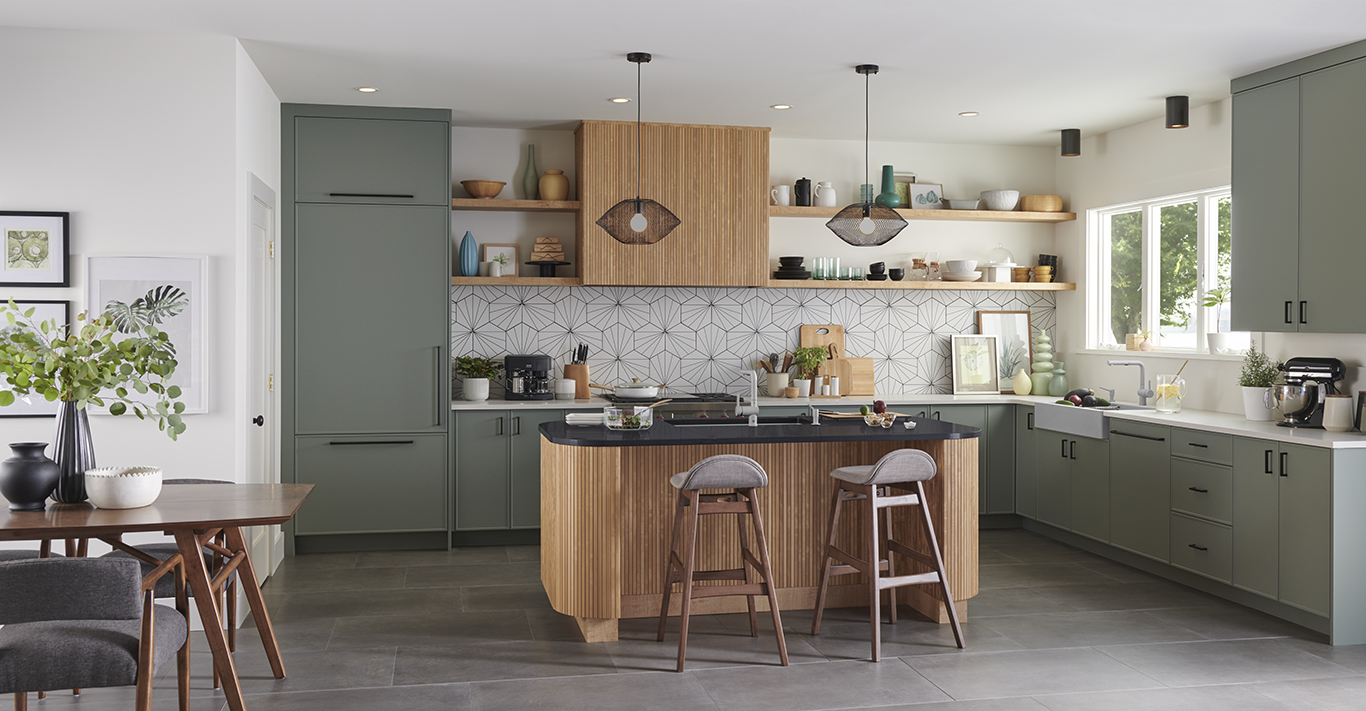
After decluttering your kitchen, assigning a specific place for each item is crucial for maintaining order. Enhance your storage with drawer boxes from Front + Center, ideal for organizing everything from utensils to spices. Use floating shelves for easy dish storage and pull-out pantries for organizing food and appliances. Under-sink storage for cleaning supplies and corner drawers for other items can help you maximize every inch of space. These solutions keep your kitchen tidy and make it more functional.
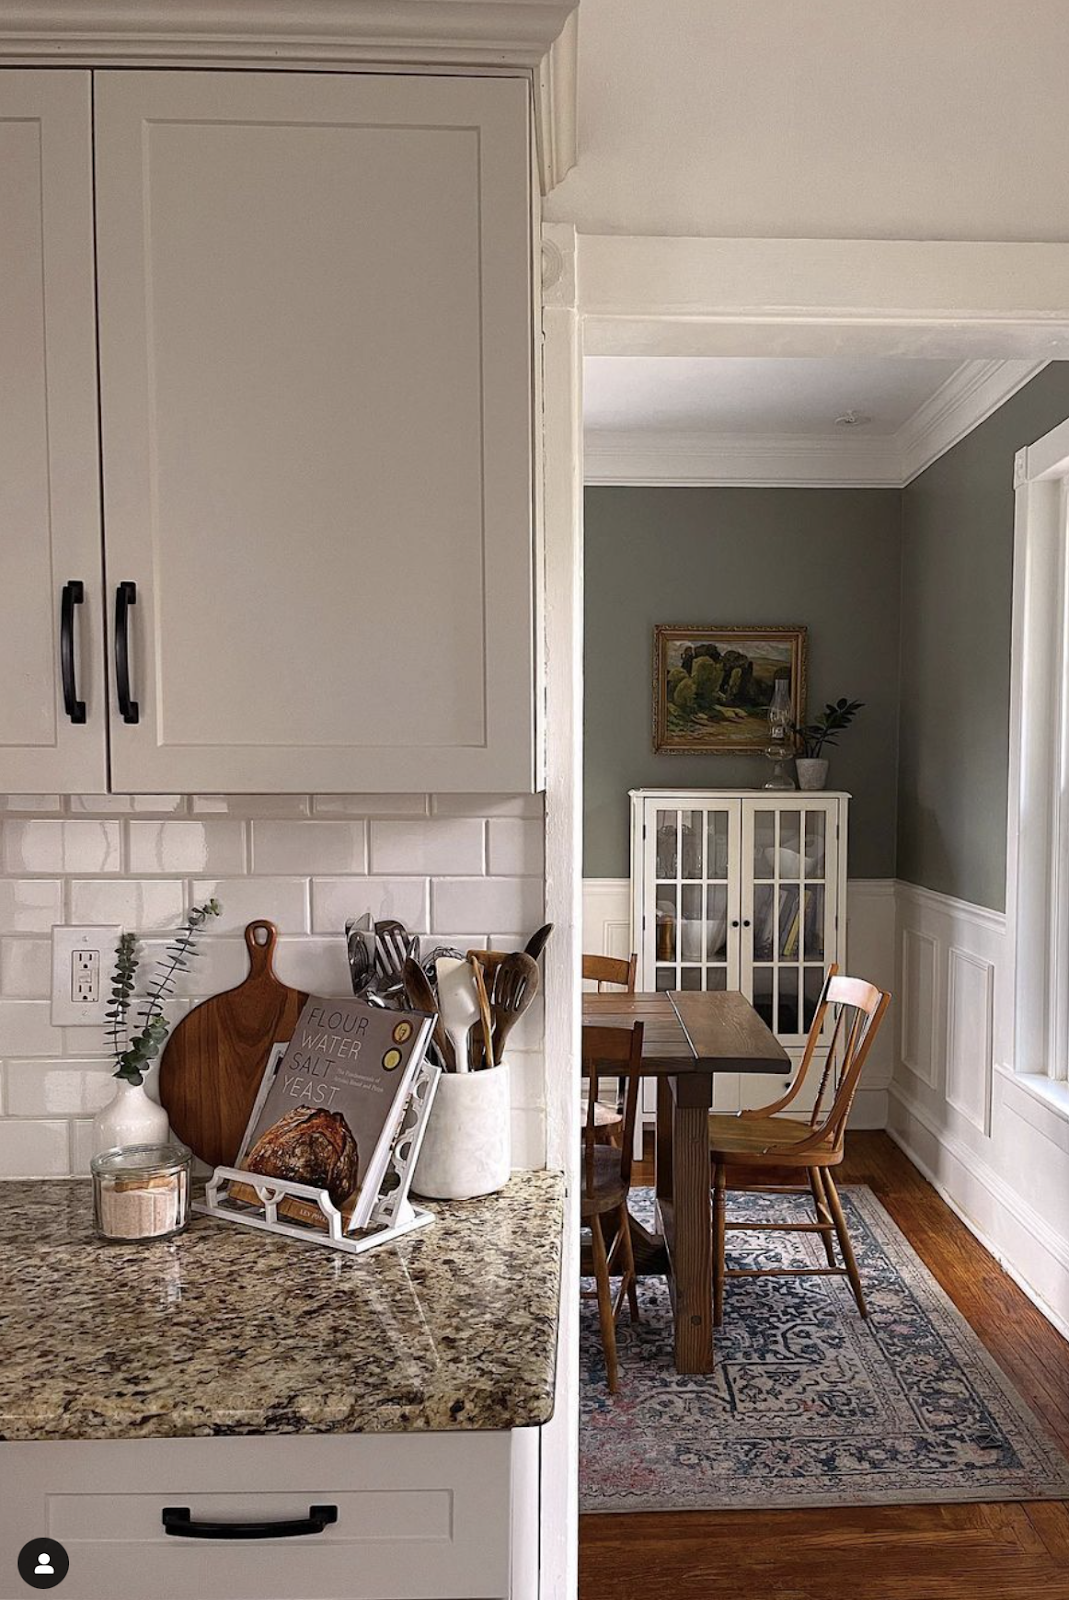
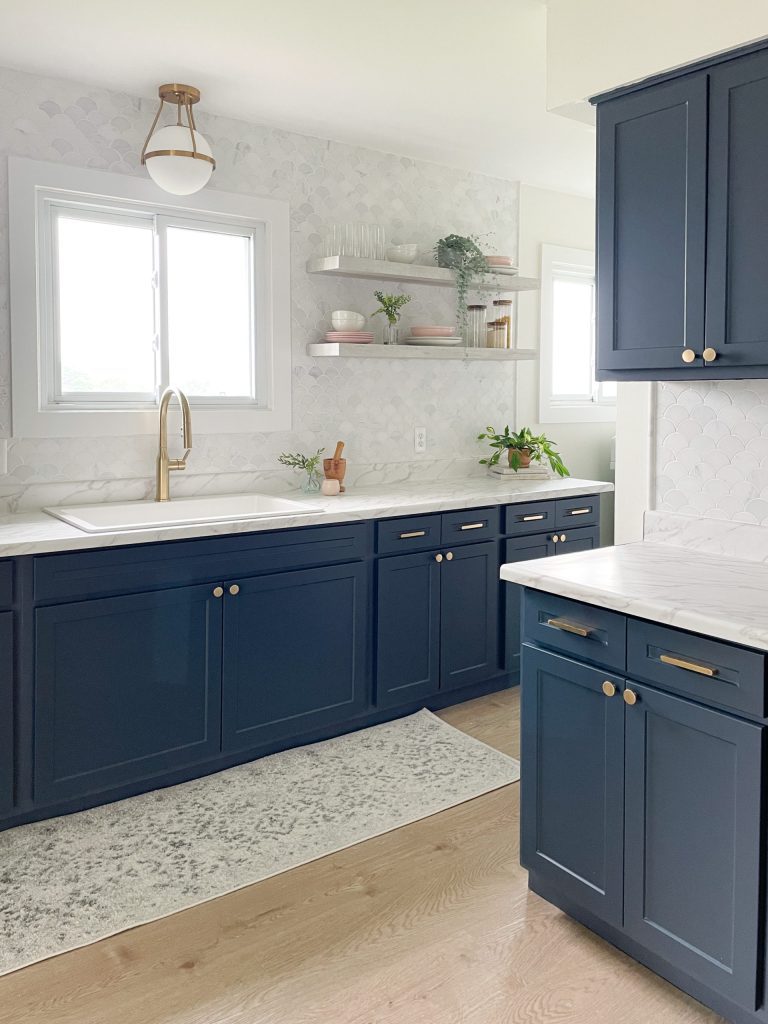
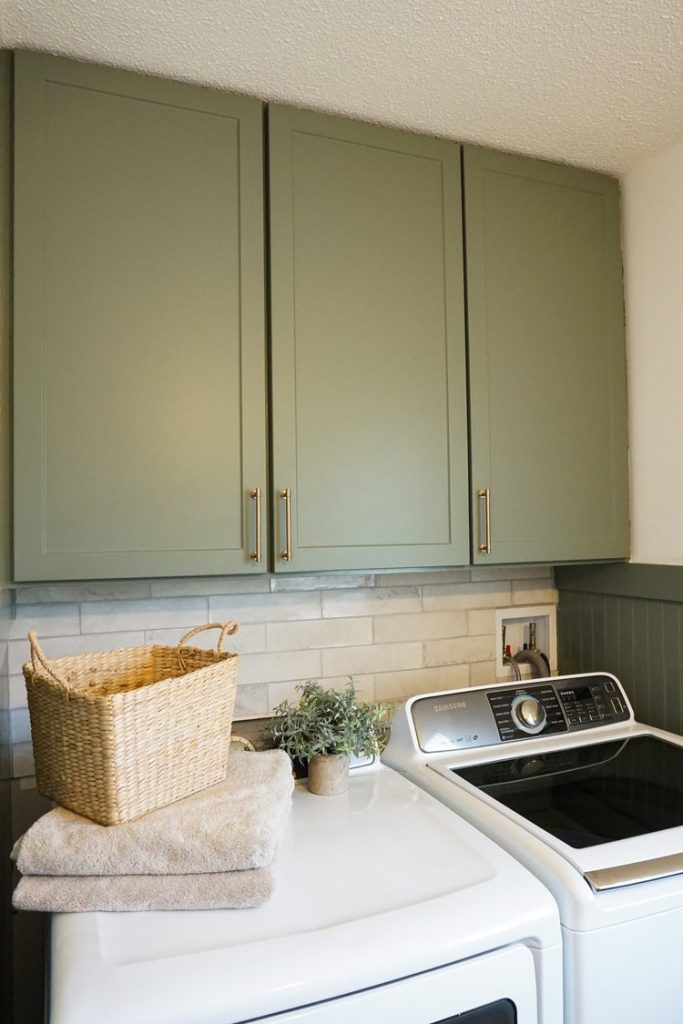
Maximize Vertical Space
To maximize your kitchen’s vertical space, look beyond the usual storage solutions. Besides installing floating shelves for easy access to dishes and glassware, consider adding hanging pot racks. These racks are practical for storing pots and pans overhead—freeing up cabinet space—and also serve as a stylish focal point in your kitchen. This approach minimizes mess, maximizes space, and adds a sleek, modern look to your kitchen.
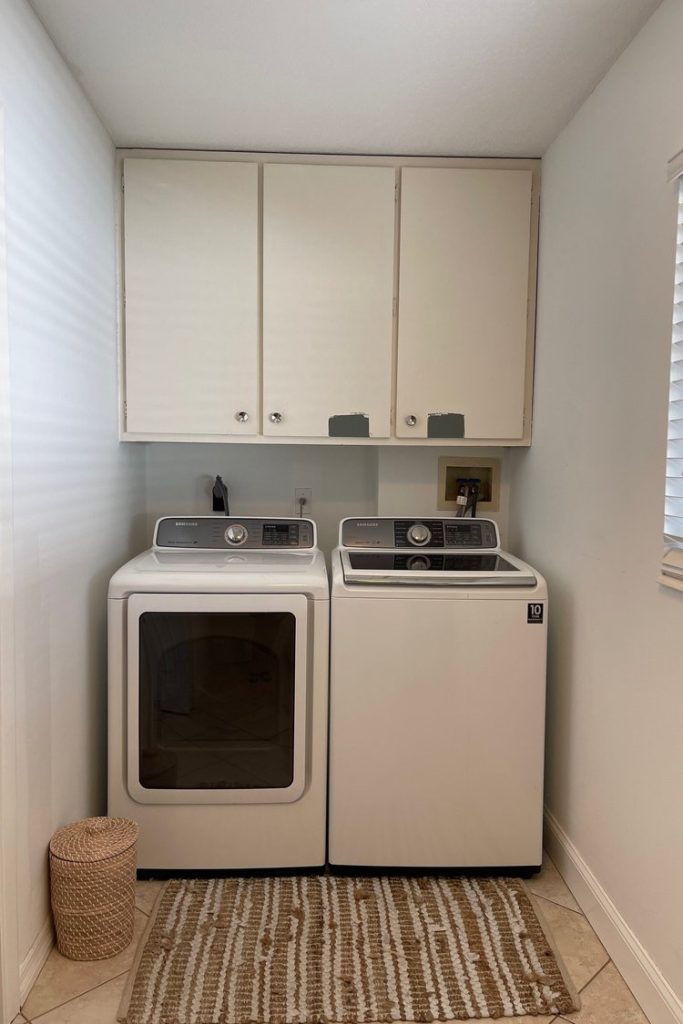
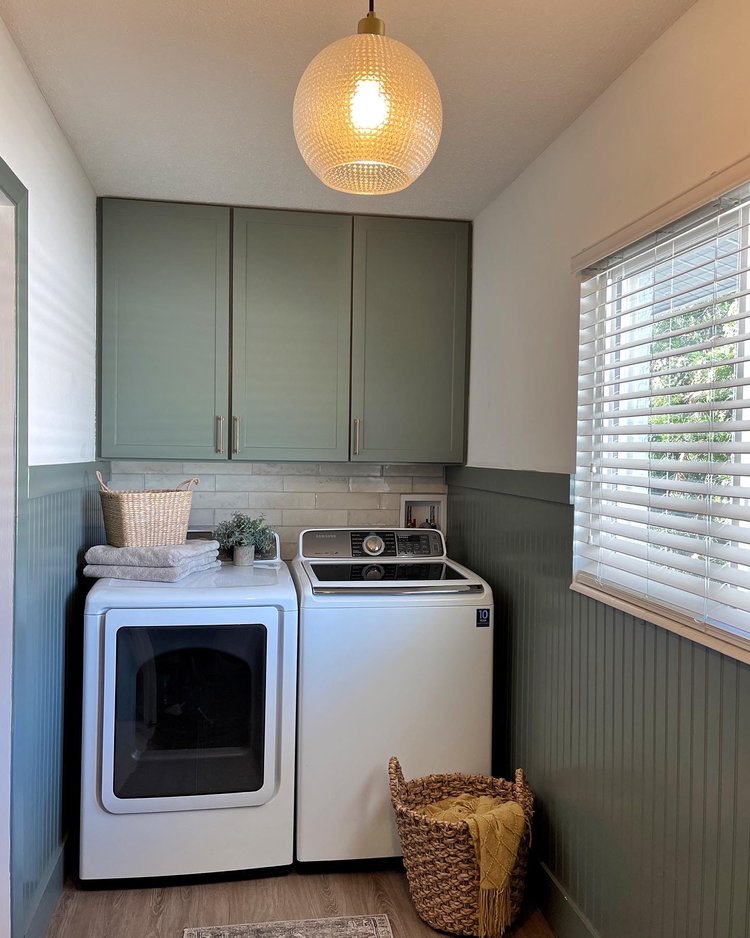
Functional Unity and Building a Routine
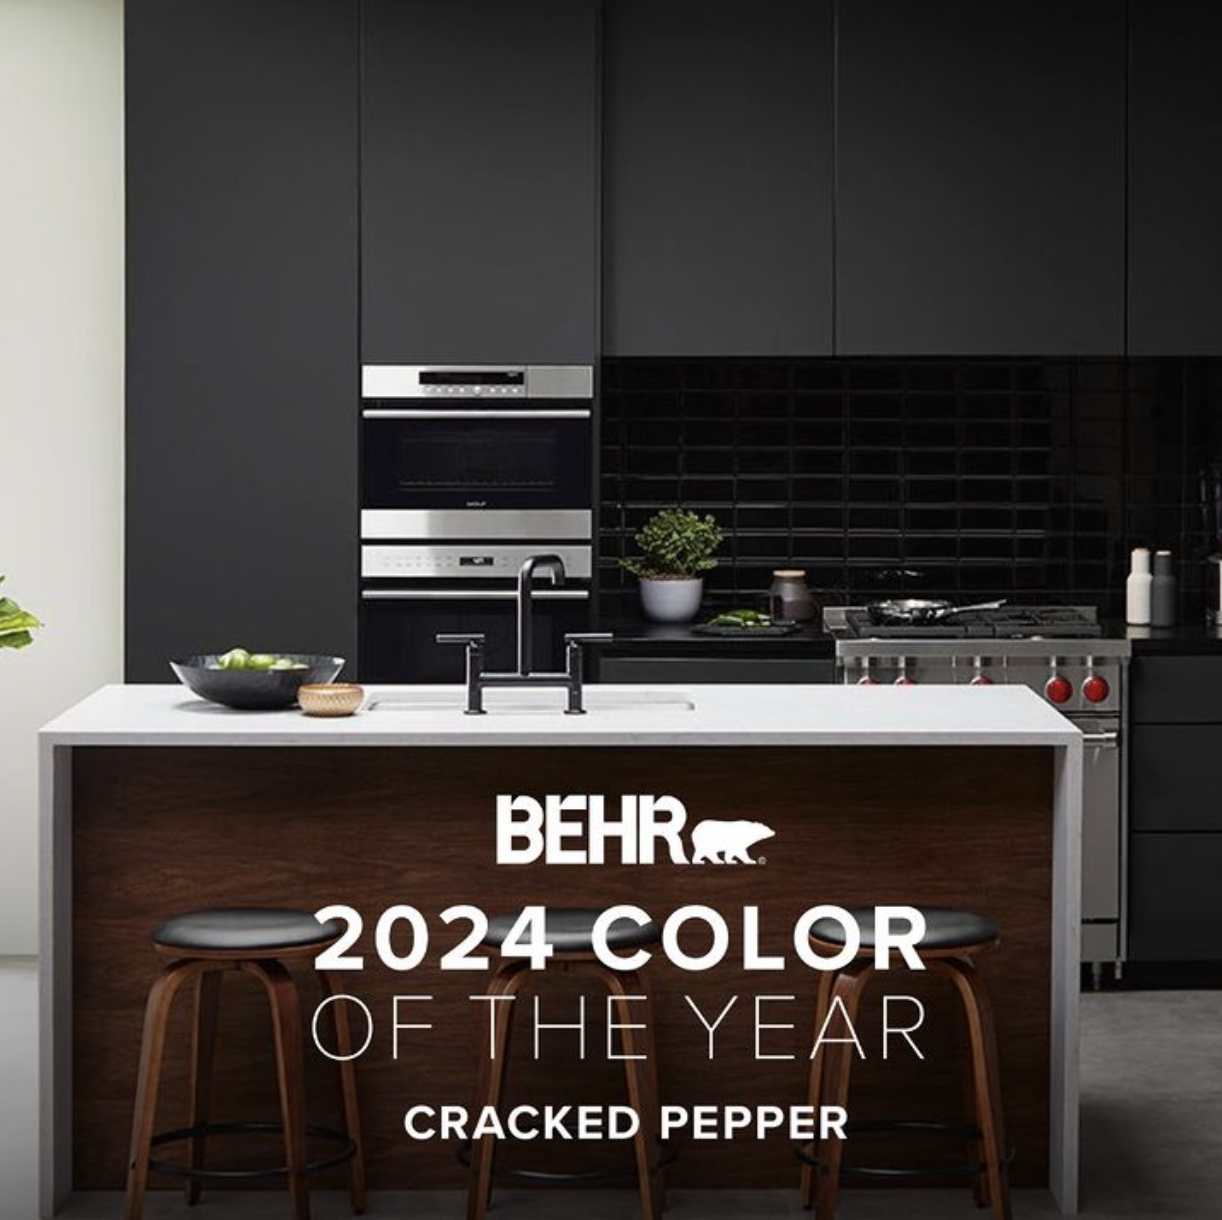
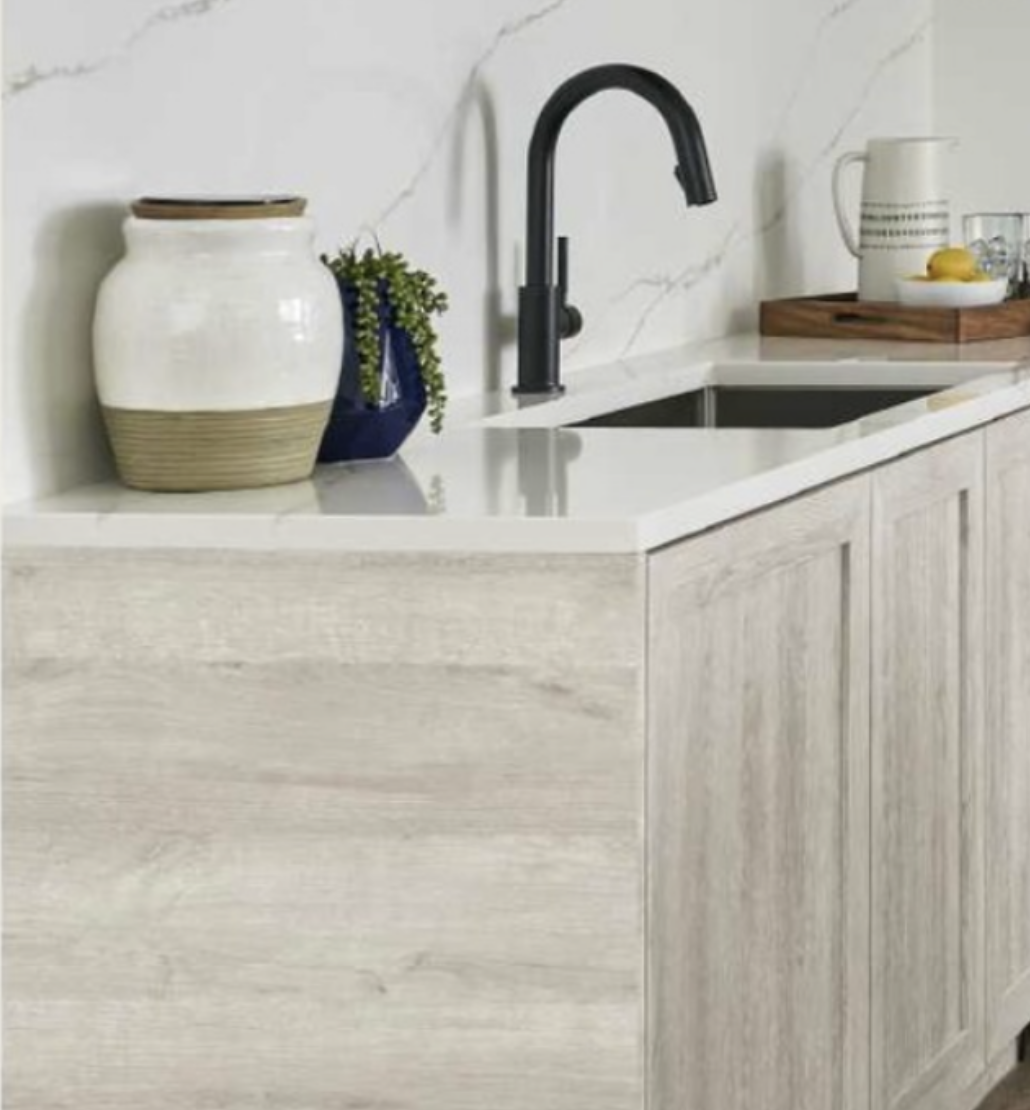
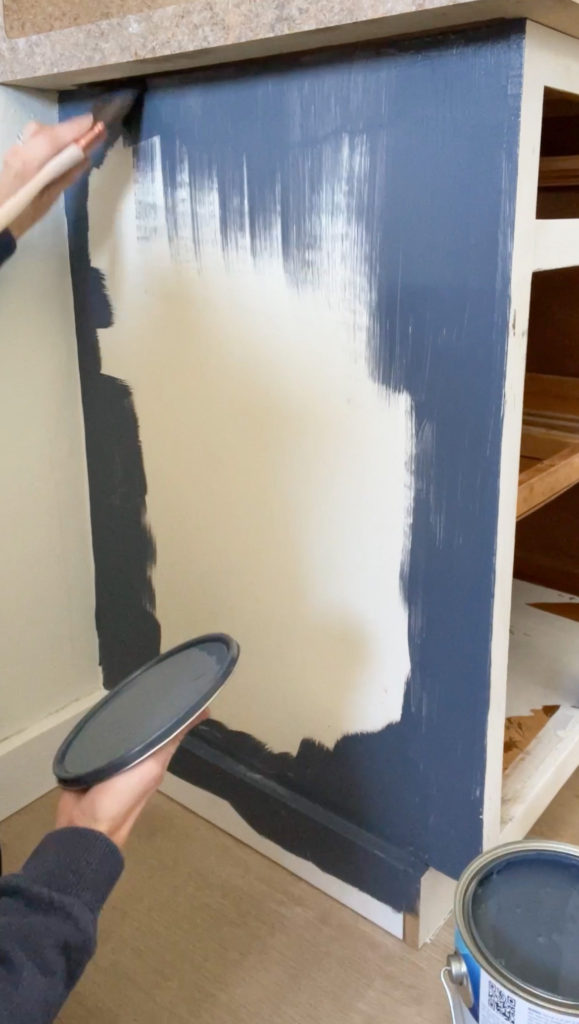
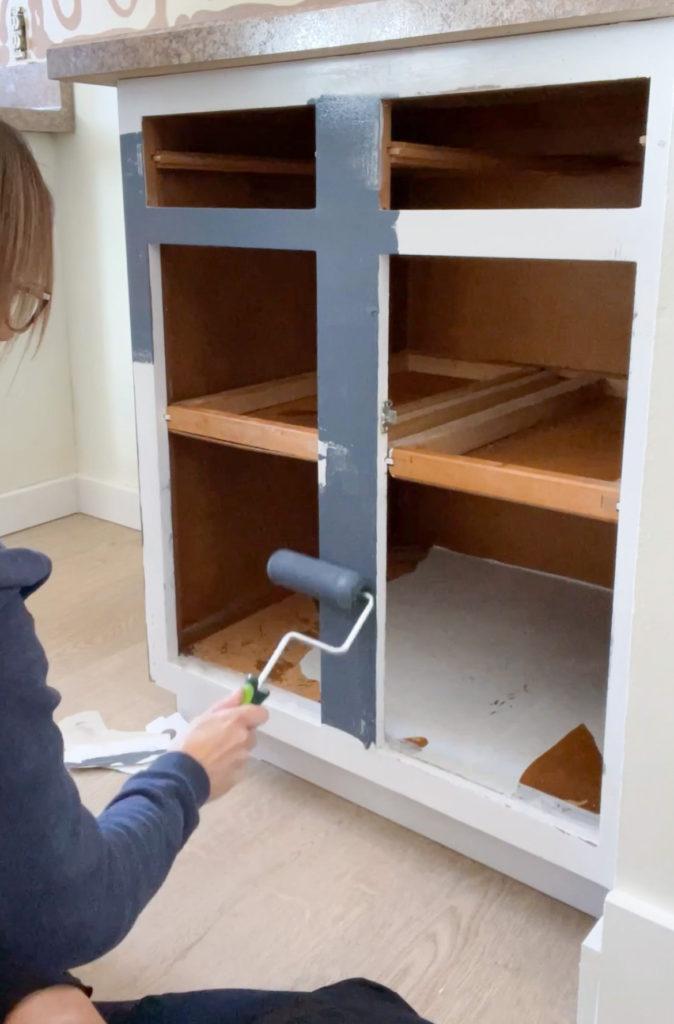
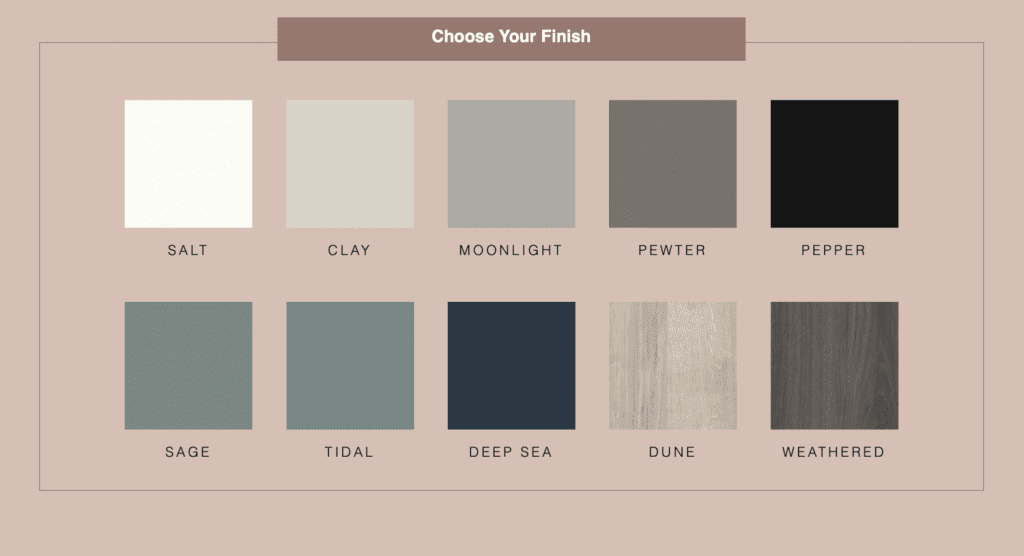
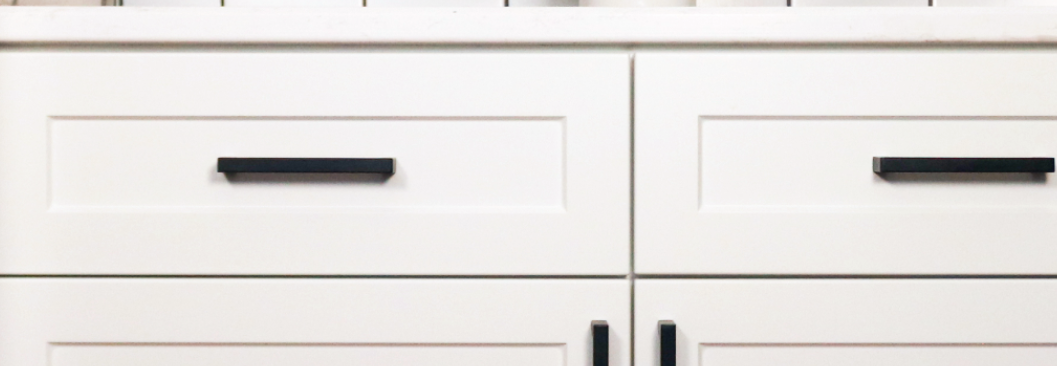
Enhance your kitchen’s look and usability by choosing finishes and materials that match your style and offer practical benefits for the perfect kitchen refresh. High-quality 3D laminates, for example, provide durability and ease of cleaning, making them an ideal choice for busy kitchens.
Learn more by visiting myfrontandcenter.com