Introduction
Considering a kitchen upgrade? Equip yourself with the right refacing tools to ensure a smooth and successful project. Whether you’re a seasoned DIYer or a beginner, it’s important to have the right tools at your disposal. In this blog post, we highlight the must-have tools every DIYer needs to tackle cabinet refacing with confidence and precision. From basic essentials to specific refacing tools, we list everything you need to tackle your DIY kitchen reno!
Essential Tools
- Powered drill
- Set of various sized drill bits
- #2 Phillips head screwdriver
- Painter’s tape
- Measuring tape
- Pencil and fine point permanent marker
- Hinge mounting screws
- Door bumpers
- Hammer or rubber mallet
- Ruler
- Scotch brand heavy-duty mounting tape
- Hardware installation template
Purpose of Each Tool in the Refacing Process
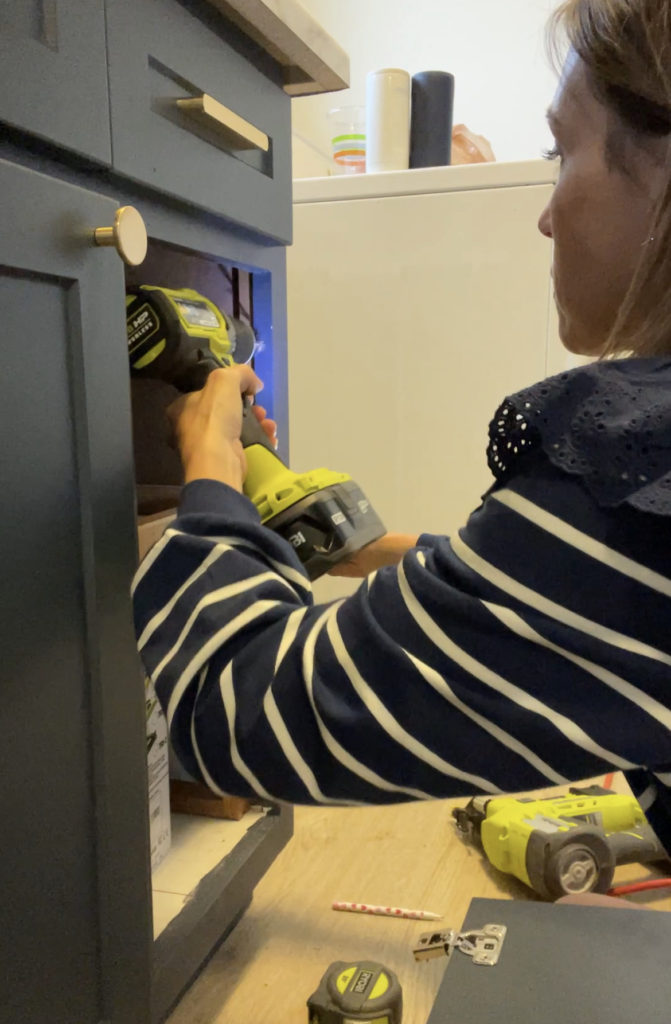
- Powered Drill
Speed up your project and save your wrists! A powered drill provides consistent and controlled drilling speed and torque for accurate pilot holes. They also accommodate various drill bits and attachments for versatile use in different installation tasks.
- Set of Various Sized Drill Bits
Various sizes of drill bits are needed to accommodate different screw sizes for hardware and hinges. They create pilot holes of varying diameters to prevent wood splitting and ensure a secure fit. They also enable precise drilling depths specific to installation requirements.
- #2 Phillips Hand Screwdriver
The handheld screwdriver is used to drive the hinge mounting screws into place, securing the hinges. It also helps install decorative hardware screws and securely attach handles to doors.
- Painter’s Tape
Painter’s tape is useful for marking drill depths to prevent over-drilling and for marking overlay dimensions for proper door placement. It protects cabinet surfaces, ensures correct alignment for drawer fronts, and marks drill hole positions for consistent hardware placement.
- Measuring Tape
The measuring tape facilitates accurate measurements needed for precise installation of doors and hardware.
- Pencil and Fine Point Marker
Having a pencil or fine point marker is useful to mark center points for hinge placement and drill holes on the back of drawer fronts for hardware alignment.
- Hinge Mounting Screws
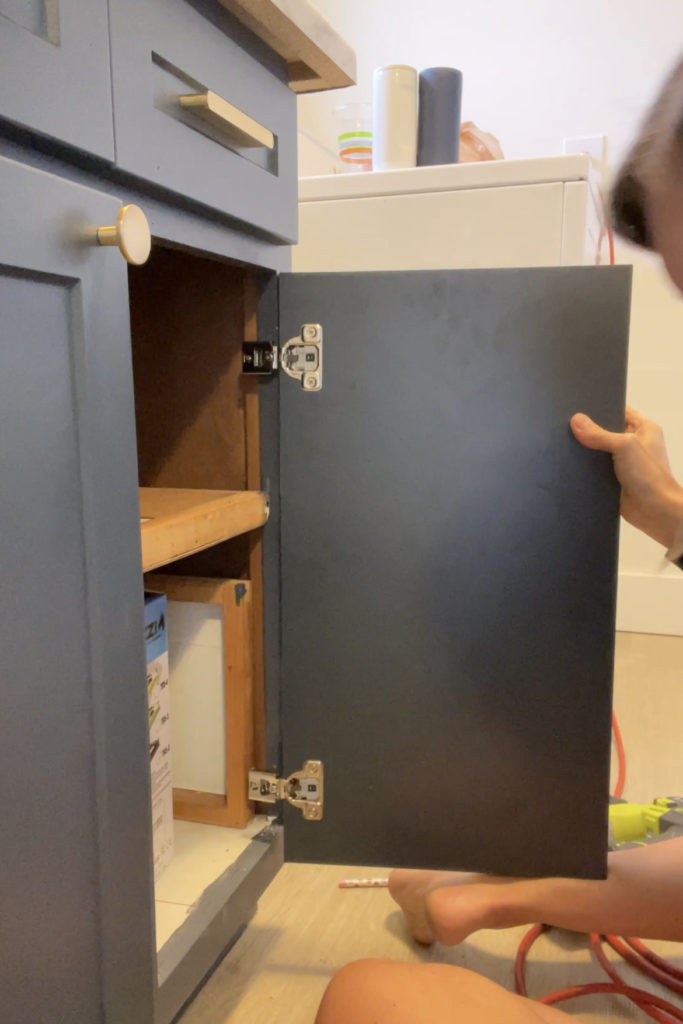
Hinge mounting screws are needed to securely attach hinges to both the door and the cabinet frame. This ensures stable alignment and smooth door operation while providing firm anchoring during installation.
- Door Bumpers
Door bumpers prevent doors from slamming, protecting both cabinet and door surfaces from damage. They also reduce noise by cushioning the impact when doors are closed.
Hammer or Rubber Mallet
A hammer or rubber mallet is useful for gently securing hinges or hardware, assisting in the precise alignment of components during installation, and providing controlled force for tapping items securely into place.
- Ruler
A ruler is needed for measuring and marking precise drilling and installation locations. Using a ruler ensures uniformity and alignment of components such as hinges and hardware. It also helps when verifying dimensions and maintaining consistency throughout the installation process.
- Scotch brand heavy-duty mounting tape
Scotch brand heavy-duty mounting tape helps temporarily attach drawer fronts or templates to surfaces, aiding accurate positioning and alignment before permanent installation. It provides a strong hold for adjustments or repositioning, ensuring secure placements with flexibility.
- Hardware Installation Template
A hardware installation template provides guidance for consistent and accurate placement of hardware. It simplifies the marking of drill holes for precise installation. It also helps maintain uniformity and alignment of hardware across multiple installations, ensuring professional results.
Conclusion
A kitchen renovation can seem overwhelming but having the right tools can make all the difference and give you an end result you can be proud of. From the versatility of a powered drill to the practicality of painter’s tape and a measuring tape, each tool serves a specific purpose for a smooth installation process. For more information about the refacing installation process please click here. Start your DIY kitchen renovation journey now with Front + Center and turn your vision into reality!


