Refacing Guide
Whether you’re just curious about the process or ready to get started, this guide contains everything you need to know about refacing your cabinets.
Get in-depth guidance every step of the way – from measuring and ordering, to install and maintenance.
Refacing Guide
Whether you’re just curious about the process or ready to get started, this guide contains everything you need to know about refacing your cabinets.
Get in-depth guidance every step of the way – from measuring and ordering, to install and maintenance.
Measuring
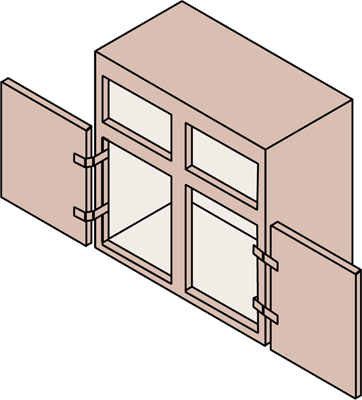
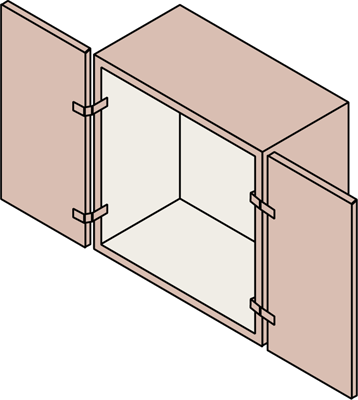
Before you start measuring, you need to determine whether you have framed or frameless cabinets. Framed cabinets have a frame on the front of the cabinet, while frameless do not.
Select your cabinet type for measuring instructions.


Ordering
Got your measurements? It’s go time!
If you haven’t already, create your Front + Center account and start entering your door sizes based on your project calculations.

Ordering New Fronts
Once you have your calculations, ordering your custom doors and drawer fronts is easy. You’ll simply choose your style, then select a finish and hinge pattern and add dimensions.
From Our Door to Yours
We’ll custom make your doors in our U.S.-based manufacturing plants, and get them on their way. Typically orders ship within 2-3 weeks. Depending on where you’re located, shipping can take 1-7 days.
Prep + Paint
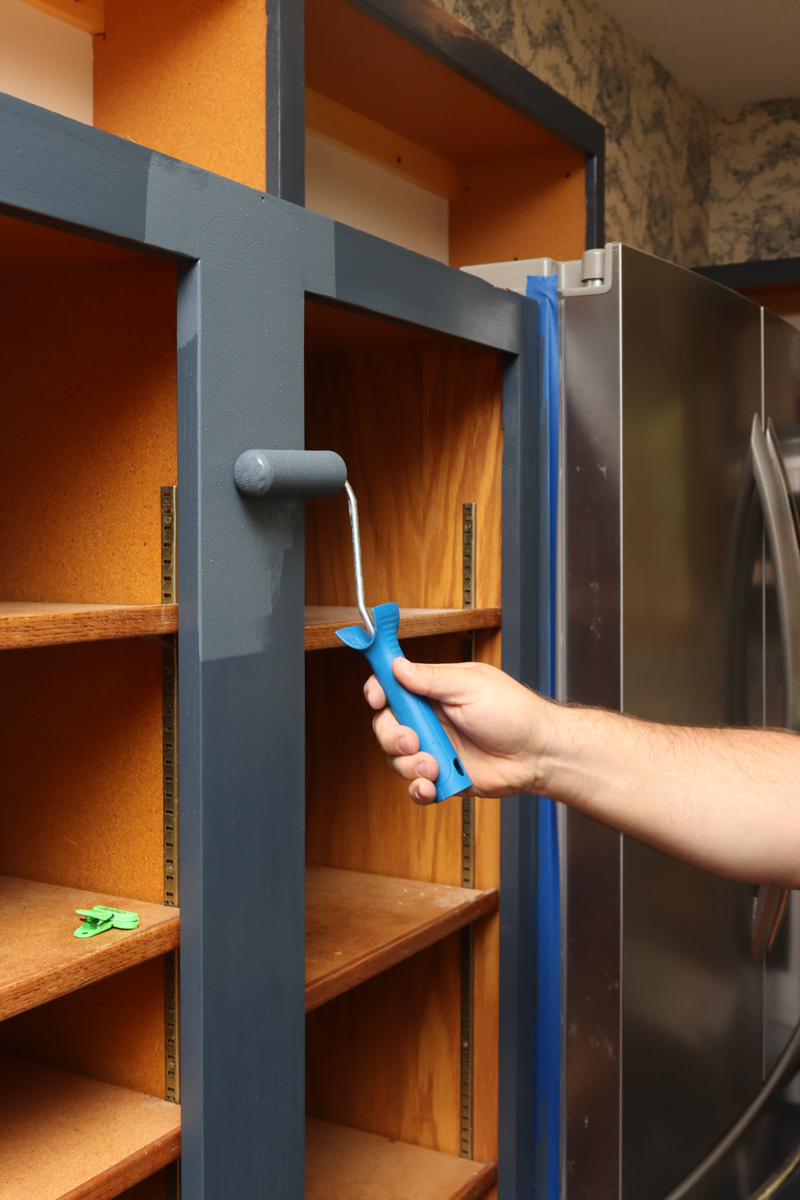
While you wait for your fronts to arrive, it’s time to prep + paint your existing cabinet boxes.

1. Remove Existing Fronts
Remove all doors and drawer fronts. If you are replacing the trim and moulding, remove them too. Remove any remaining nails, or hammer them below the surface.
2. Clean + Degrease
Clean and degrease areas where excessive dirt, water, or oil can build up to make sanding easier. Typically, you’ll want to check areas around sinks, cutting boards, above the stove and/or microwave, and where trash cans are stored.
3. Sand + Repair
After all surfaces are dry, sand the cabinet surfaces you are painting to a dull or hazy finish. This will help with paint adhesion. Use wood putty and a knife to fill in any holes, cracks or indentations in your cabinets. When the putty is dry, sand until areas are smooth and level. Vacuum to remove any dust. Use a damp rag to wipe down all surfaces.
4. Paint + Cure
Mask off areas that shouldn’t be painted, use a trim brush to cut in, and lightly paint areas where repairs were made. Use a fresh roller and apply first coat with light pressure to avoid lines or bubbles. Follow the manufacturers drying time, then lightly sand the surface and wipe clean. Apply the second coat using the same method – trim brush first, then roller. Let paint cure for a few days before installing new fronts.
Installation
Once you’ve completed all the prep and you’ve received your new fronts, it’s time to install!

1. Install Hinges
Using a rubber mallet or hammer, tap your hinges into the pre-drilled holes in your new doors.
2. Drill Pilot Holes
You’ll want to mark and drill pilot holes into your cabinet boxes so you can easily hang your doors in the right place. It’s also best to pre-drill your drawer fronts for hardware at this time.
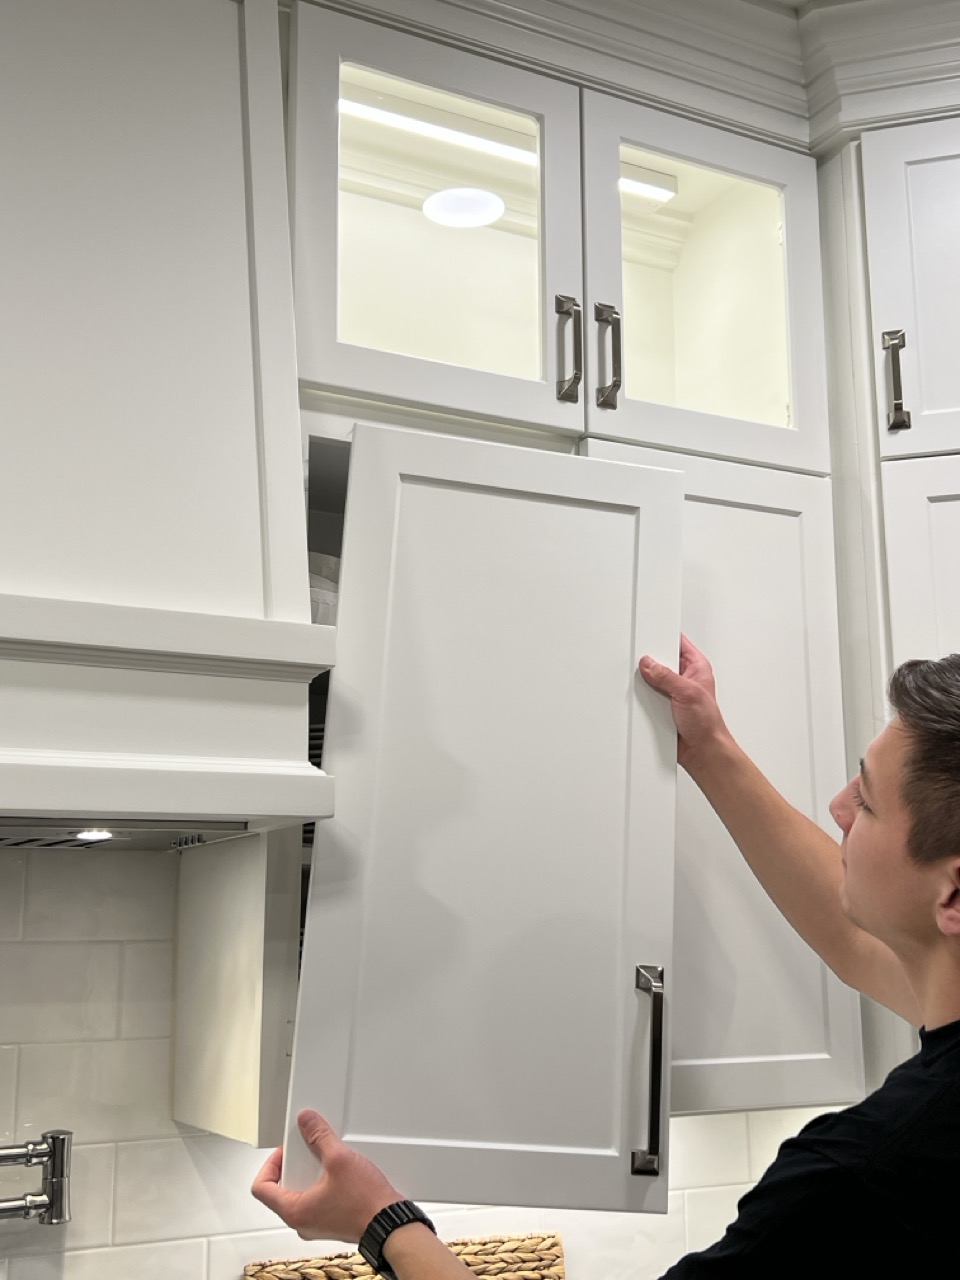
3. Install Doors
Hang your doors and screw them into the pilot holes you just drilled. Remove protective covering, and then screw in door handles.
4. Attach Drawer Fronts
Align your new drawer front to your drawer boxes using mounting tape. Once aligned, remove the protective covering and attach the hardware through pre-drilled holes to secure the drawer front.
Video Library
Visual learner? No problem – we’ve got video resources to help you follow along!
Below are our most-viewed tutorials. Don’t see what you’re looking for? You can find the full library on our youtube channel @myfrontandcenter.
Measuring for Frameless Cabinets
Measuring for Framed Cabinets
How to Paint Cabinets
Installing Door Fronts
Installing Drawer Fronts
How to Paint Cabinets

