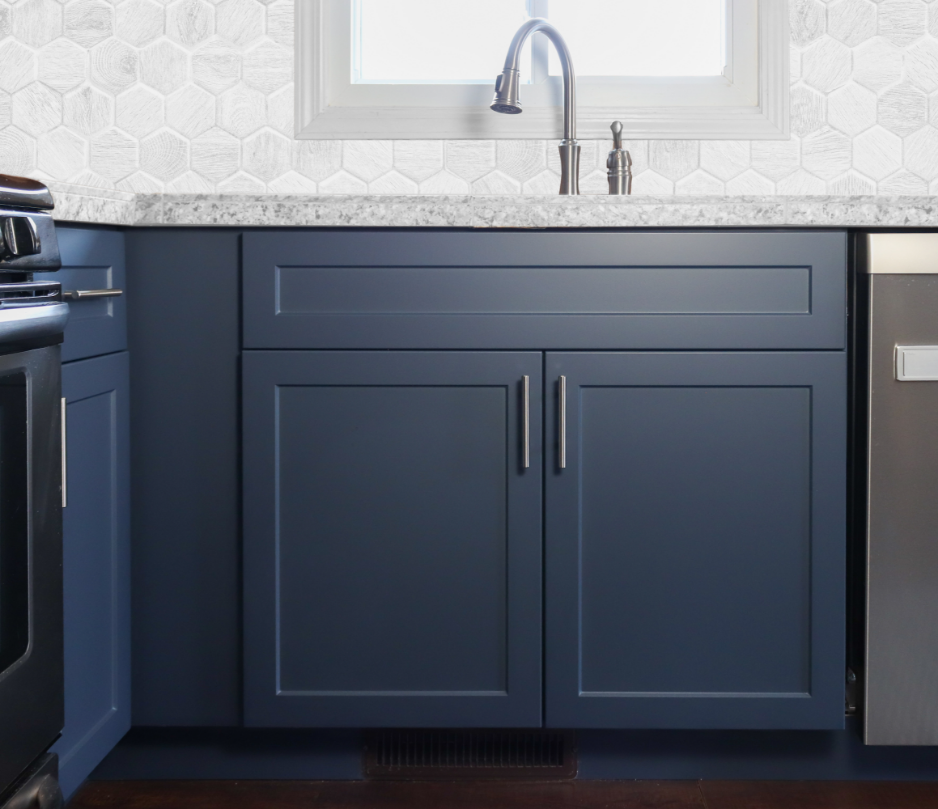
How To Paint Cabinets for New Doors
Painting your cabinet frames and panels in a color that matches your new cabinet doors and drawer fronts is an easy way to achieve a refreshed look for your space. Even though most of what you’ll be painting won’t be very visible after you hang your new doors, following the basic preparation and application steps outlined below will help achieve a professional, long-lasting result.
Tools You’ll Need
- Cabinet-Grade Paint
- 3-4” Foam Roller
- 1-1.5” Brush
- Small Paint Tray
- Putty Knife (soft or flexible works)
- Wood Putty
- Sharp Utility Knife
- Painters Tape
- 120-180 Grit Sandpaper
- Sanding Block
- Plastic or Drop Cloth
- Scrap Wood or Doors (for paint testing)
- Painters Rags and Water
- Hammer
- Screw Gun w/ Assorted Drive and Drill Bits
- Pry Bar
- Nail Set
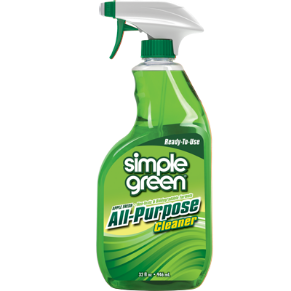
- Simple Green Degreaser
Bonus Items
(optional, will help speed up the process)
- Electric Sander
- Shop-Vac
- Bondo for filling large voids (i.e. if your old cabinets used double demountable hinges)
- Fan for drying freshly washed cabinets
- TSP, or similar surface cleaner
Pro Tip
Remove items from your cabinets before you start sanding and painting.
Watch Tutorial: How to Paint Cabinets for New Doors
Before You Start:
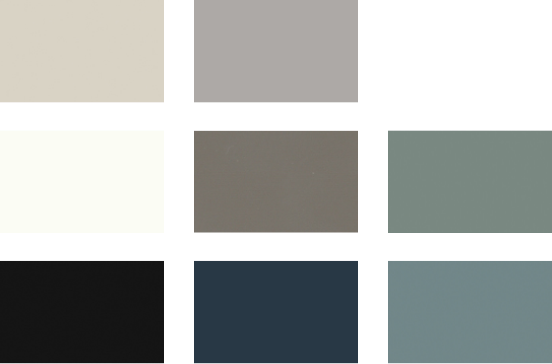
For best color match results, bring a sample swatch to your local paint store. Their experts can scan the swatch and create a custom paint match in your preferred brand.
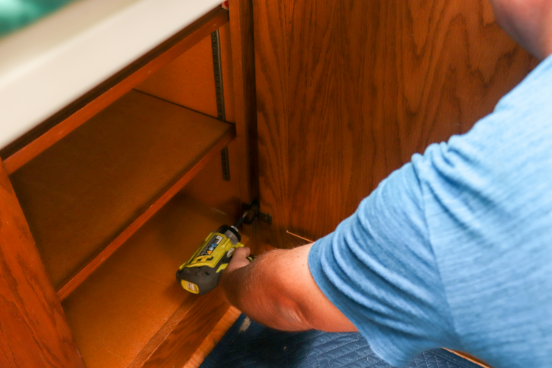
Remove Old Doors
Remove all doors, trim, and moulding. Remove any remaining nails, or hammer them below the surface.
Pro Tip
Apply painter’s tape to areas where your cabinets meet walls or appliances to prevent sandpaper scratches. Use two layers of tape on appliances to prevent paint from bleeding through.
Clean + Degrease
Clean and degrease areas where excessive dirt, water, or oil can build up to make sanding easier. Typically, you’ll want to check areas around sinks, cutting boards, above the stove and/or microwave, and where trash cans are stored.
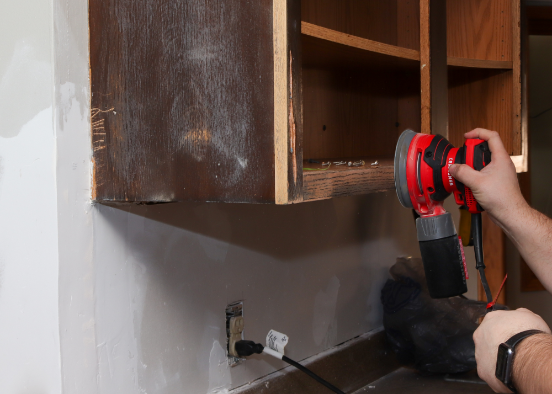
Sand
After all surfaces are dry, sand the cabinet surfaces you are painting to a dull or hazy finish. This will help with paint adhesion.
Pro Tip
You do NOT need to sand through any existing finish if it is solid and not peeling or chipping.
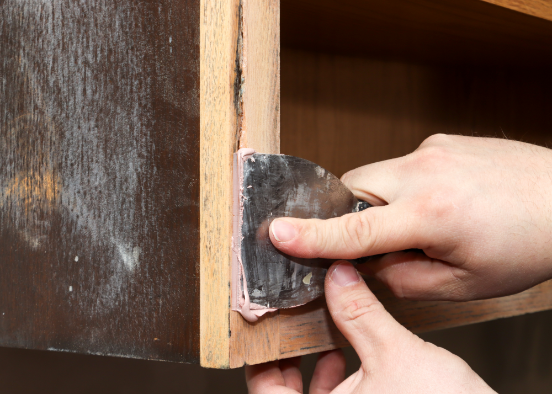
Make Repairs
Use wood putty and a putty knife to fill in any holes, cracks, and indentations in your cabinets. When the wood putty is dry, sand until areas are smooth and level. Vacuum or brush out the inside of the cabinets to remove any dust. Use a damp rag to wipe down all surfaces.
This is a good time to double-check your prepped areas to be sure you haven’t missed any repairs. Check above drawers as knives tend to leave behind damage in these areas.
Pro Tip
If you don’t want to see the woodgrain through the paint, you can fill the grain by applying a thin layer of spackling paste with a wide putty knife. Make sure you sand and clean the surface again before painting.
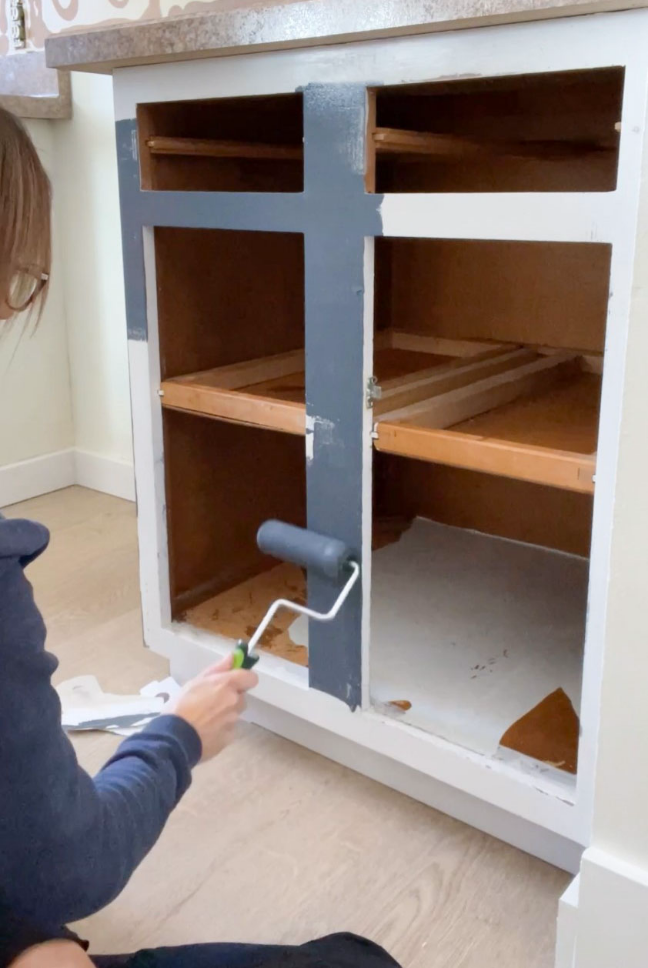
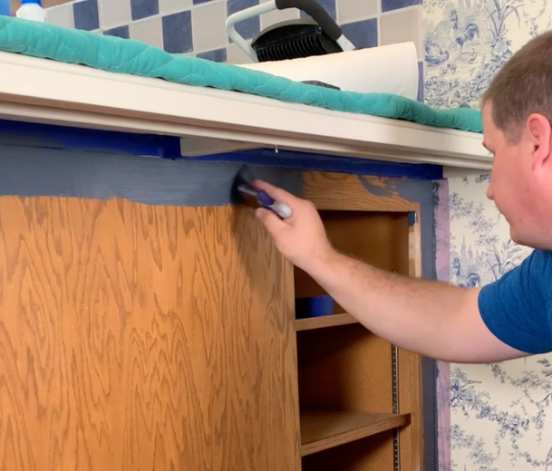
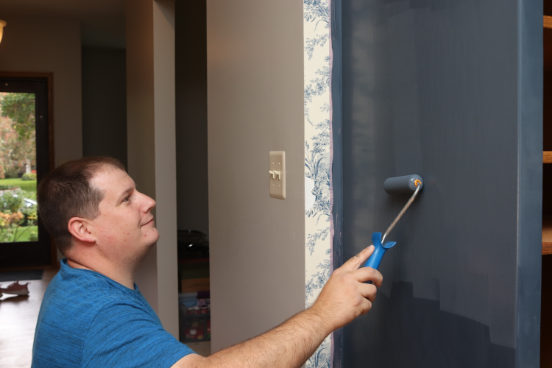
Paint with Trim Brush
Before you begin, use painter’s tape to mask off all areas that shouldn’t get painted. Don’t worry about painting the interior of your cabinet. Many new cabinets today have a different color interior and it won’t be as noticeable once your items are back in the cabinet.
Use a trim brush to paint any areas that are hard to cover with a roller, including edges of the cabinets that meet walls, appliances, under counters, floors, and inside corners of the face frame.
Lightly paint any areas where moulding has been removed (these areas typically have never had paint or wood stain) and areas where you made extensive repairs.
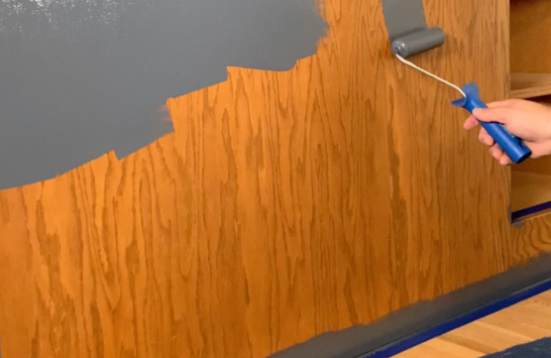
Paint 1st Coat with Roller
Practice First! On a piece of scrap wood or old door use your roller and practice applying even coats of paint to the cabinet.
Start with a fresh roller of paint. When the roller is less saturated, roll narrow areas – this will prevent drips of paint on the cabinets. Keep the roller loaded with paint when painting large flat areas such as ends of cabinets or sides of a pantry. Use light pressure when rolling to prevent lines or microbubbles.
Dry, Sand, + Apply 2nd Coat
Follow the paint manufacturer’s instructions for drying time.
Once completely dry, first check for areas that may need any additional wood filler or leveling. Then, use a sanding sponge to lightly smooth out the first coat of paint. Use a damp rag to wipe up any sanding dust.
Repeat same paint process as first coat using a trim brush first then the roller.
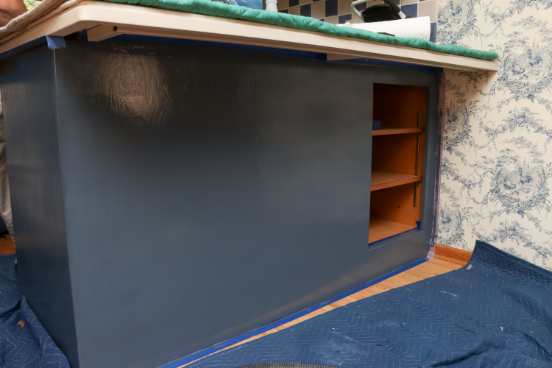
Cure + Remove Tape
Allow the paint to cure a few days before pulling masking tape or putting up doors to reduce the chances of damaging your freshly painted masterpiece. Unlike wall paint that dries in hours, cabinet and trim paint cure to a hard durable finish over a longer period.
Pro Tip
When removing the masking tape, keep a sharp knife handy to cut along areas that may have a heavy build-up of paint to prevent tearing of paint or damage to walls.
Install New Fronts
Once paint is completely dry, continue the Refacing process by installing the new Front + Center doors and drawer fronts!